Sunday, October 28, 2012

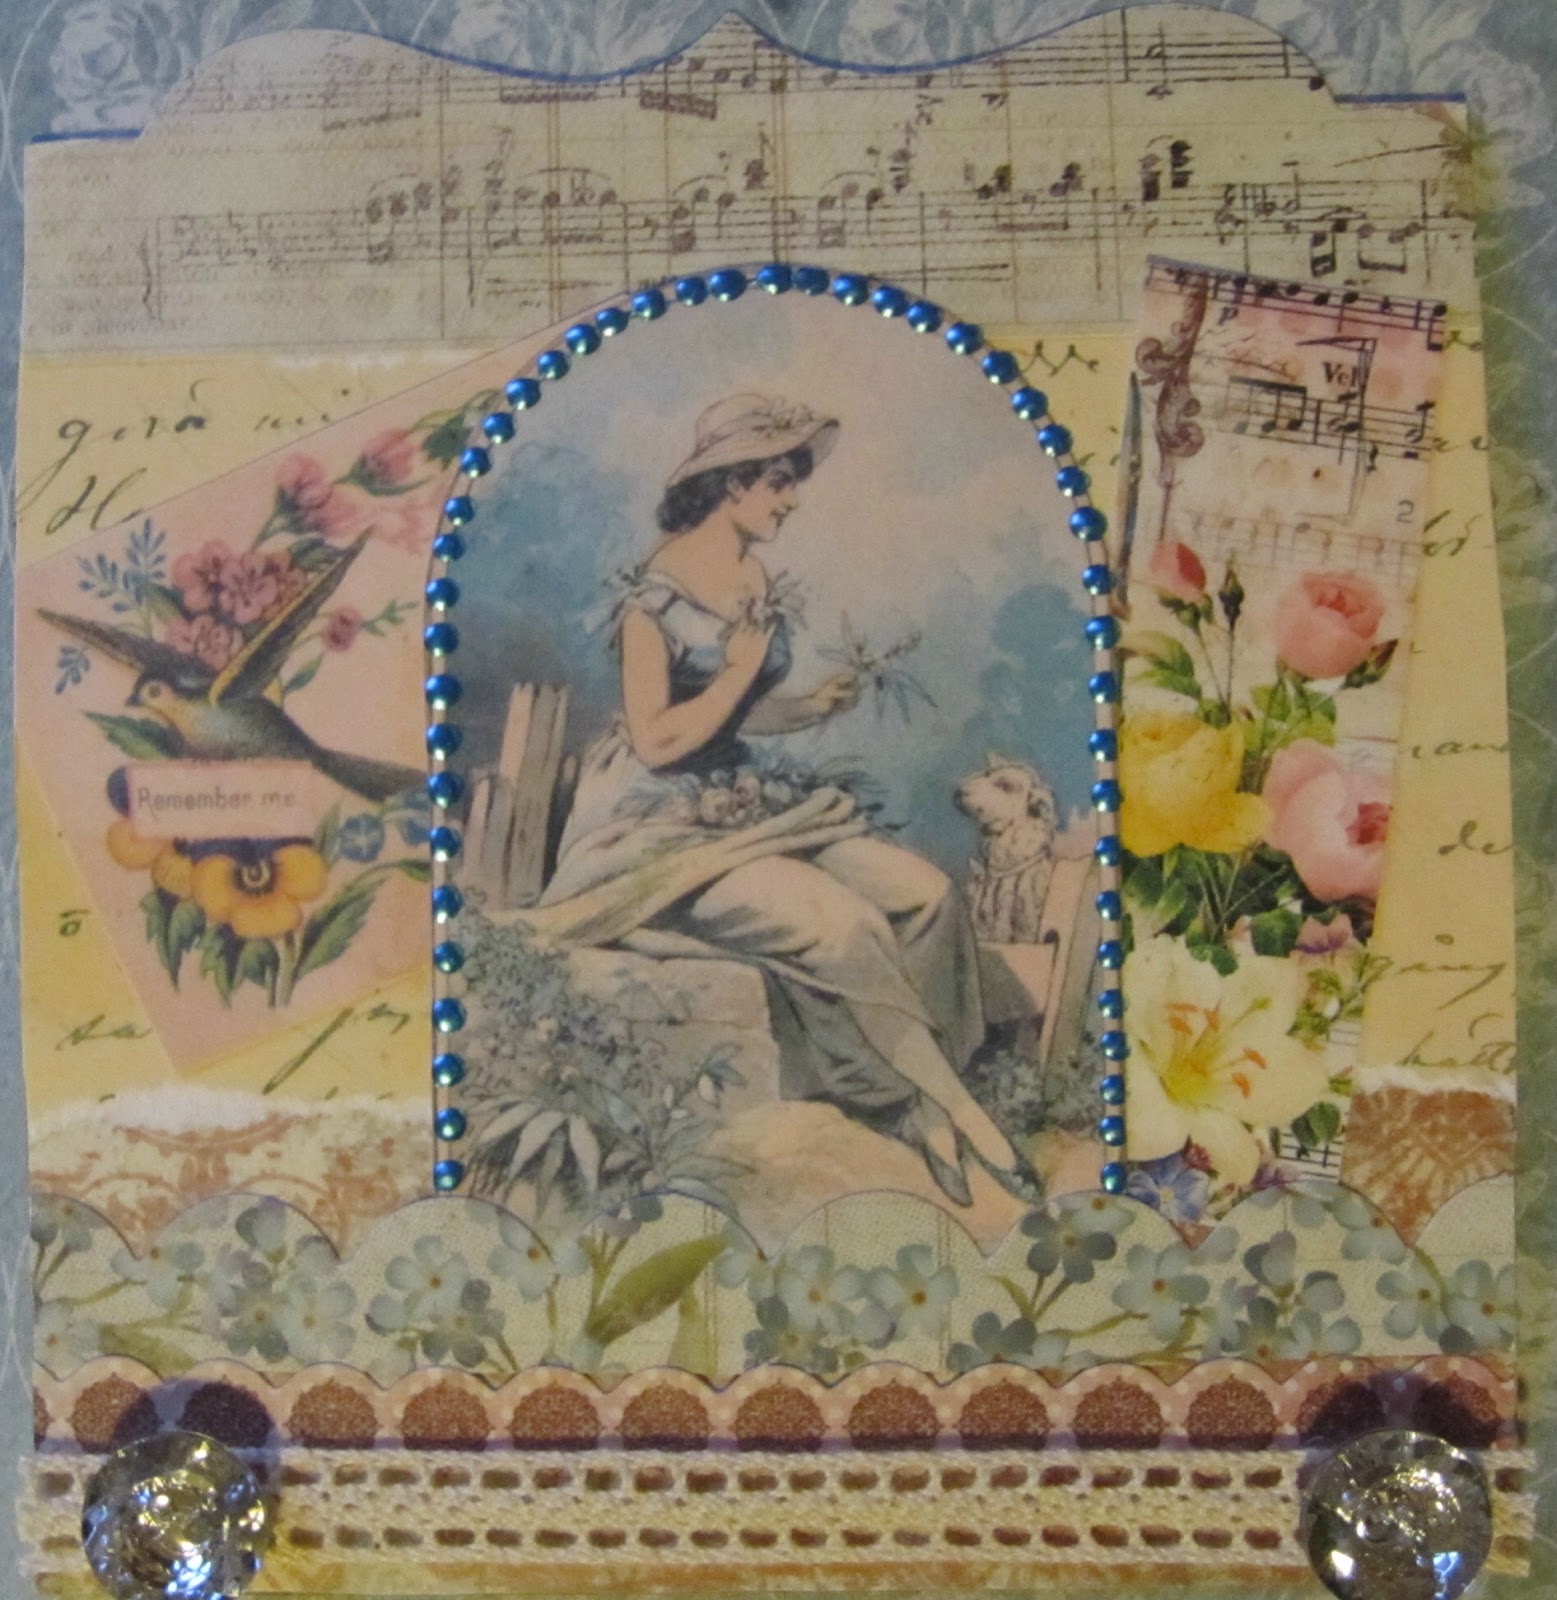
Marie Antoinette Altered Book

Currently working on an altered book, with Marie as the theme.  Just starting with the cover, originally a child's board book. Will continue to gather empherma to add to the book. Yes I like frilly, girly colors, and images. 


Friday, October 26, 2012

Season's Greetings on Birdnuts! 
This is my contribution to the current swap Denise Phillips is having on her blog. I am not normally a holiday type of person, but I had fun creating this ATC. Come join in : 


Tuesday, October 23, 2012


SMASH/JUNQUE JOURNAL 

New Project: Smash/Junque Journal - Just beginning . 
Swapping junk on a swap on Swap-Bot.  Pages are coming along, but need more paper type  of junk. I have lots of this type of material, as I get lots of gallery postcards in the mail. So most of my collection will have art included. I like this type of journal, as you just go with the flow. No critics saying what to do or not do.  Just play, and follow your creative heart. Here is the link to the swap on Swap-Bot if you care to join in: LET'S KEEP SMASHING/JUNKING!


Tuesday, October 9, 2012

Affirmations Kit Swap

Hosting an Affirmations Kit swap on Art 42.
Come join in:
Affirmations Kit Swap

Sunday, October 7, 2012

Small Matchbox Book

Tutorial

I am hosting a Swap-Bot swap for a Small Matchbox Book. I thought I would do a short tutorial for everyone who feels they may need a bit of guidance.  *Please note that different matchboxes are slightly different sizes...you may need to adjust the measurements.      


SUPPLIES: 
 ~2 Small sized (32 count) Matchboxes
~Paper: scrapbook paper works great 6x4 inches
~Other various scraps of paper for inside the matchboxes
~Adhesive: can use glue stick, double sided tape , tacky glue
~Various ephemera of your choice
~ Basic tools:  Scissors, Ruler, Pencil, Inks, Paints 

Step 1-
Cut your paper choice to 6x4 inches.  Fold top and bottom edges approx ¼ over and
glue.  Fold the ends over approx ½ inch. This gives a finished look to the edges of the book.
Step 2-
Place your matchboxes onto the paper and eyeball it about ½ from the ends that
are folded. Placement is about 2 ¼ over the matchboxes.  At this point crease the
paper a bit so you remember where to fold after you remove matchbox.  Fold paper
creating the spine edge of the book.  
Step 3-
Now glue the boxes onto the paper pushing the back of the box against the
folded spine edge.  Using tacky or glue stick gives the time to position the boxes
without it drying out on you to fast.  Also add a strip of paper over the sides of the matchboxes on top and bottom. Approx 3/4 x 2 inches.

Step 4-
Your book is now made, time to decorate and embellish it.  Use papers, and other
ephemera to coordinate with the paper you are using.  You can also paint or use
ink to color the inside of the slide out part of the matchbox. Shrines or goodies can
fill the boxes. 


Friday, October 5, 2012

Another great challenge on Green Paper.  Added a bit of the liquid pearls from Ranger.  Love the look.  Thanks again Mary for another fun creative challenge.
Check out the challenge for yourself:
http://greenpaper.typepad.com/